This recipe , which I have tried is one of the easy-peasy mutton recipes that I have ever made. Mutton has a bad name for being too difficult to cook and most novice cooks avoid cooking this delicious item.
However this recipe that I will give today is sure to turn heads of any one tasting this heavenly recipe.
This is one of my comfort food, the best thing about the recipe is how quick it cooks.
There are 2 basic steps to cooking this dish,
1. Boiling the Mutton
2. Frying the Mutton.
The ingredients required for the step are different so I will go by the way you should prepare it.
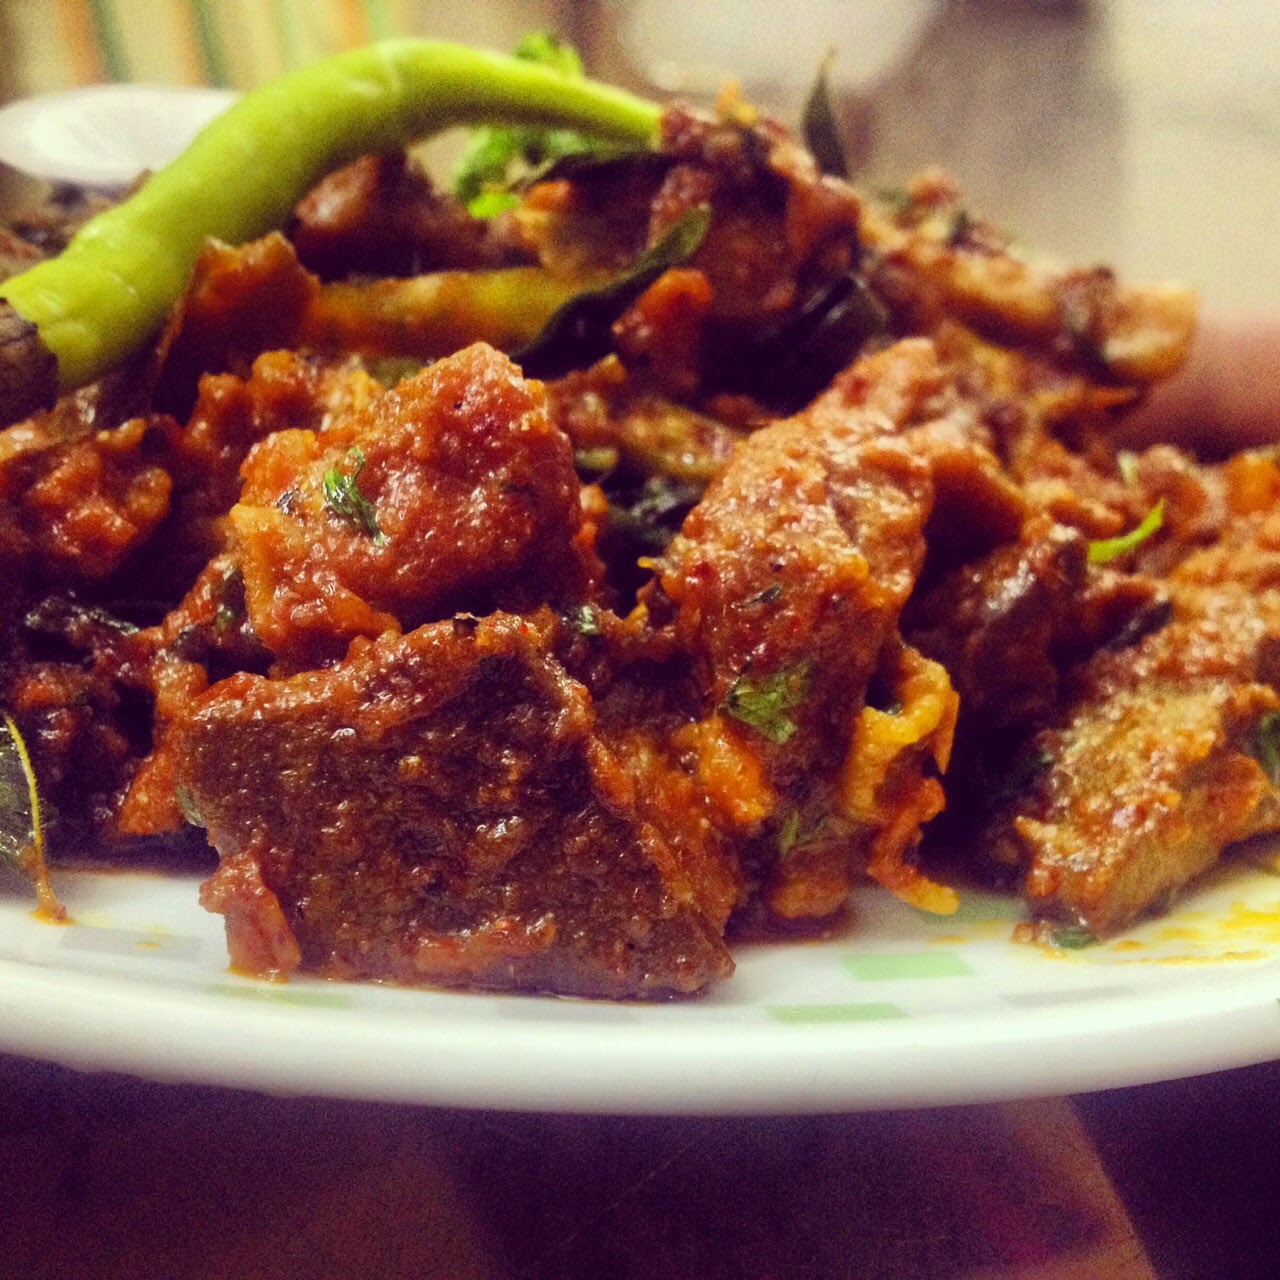
Spicy and Tangy Mutton Fry
Prep time- 10-15 mins Cooking Time - 30 mins
Makes : Mutton Side for 2-3 people
STEP 1- Boiling the mutton
INGREDIENTS:
- 500 gms mutton cut into small bite size pieces
- 2 tablespoon oil
- 1 tablespoon whole garam masala( 1/2 inch darchini. 2 bayleaves, 2 cloves, 2 cardamom)
- 1 onion chopped roughly
- 1 tablespoon ginger garlic paste
- salt(according to taste)
- 1/2 teaspoon haldi powder
- 1 and 1/2 cups water
- 1 pressure cooker
METHOD: ( for Step 1)
- Heat the pressure cooker and add oil to it.
- Add the garam masala.
- When fragrant add the onion and ginger-garlic paste. Fry for 1 min.
- Next add the mutton. Fry for 1 min.
- Now add the salt and turmeric. Mix well. fry for 30 secs.
- Lastly add 1 and 1/2 cup water (preferably hot water).
- Now put the lid of the pressure cooker and let it whistle 8-9 times.
- Let the pressure cooker open on its own.
- Meanwhile lets prepare for Step 2.
STEP 2- Frying the Mutton
INGREDIENTS:
INGREDIENTS:
- 2 tablespoons of Butter
- 6-7 cloves of garlic
- 1 teaspoon whole pepper
- 1/2 teaspoon cumin seeds(jeera)
- 8-9 curry leaves
- 2-3 sliced chillis
- 1 teaspoon coriander powder(dhania)
- 1/2 teaspoon chilli powder (according to taste)
- 1/2 teaspoon cumin powder(jeera)
- 1/2 teaspoon garam masala powder
- Chopped coriander leaves, a small bunch (optional)
- 3 tablespoons of lemon Juice.
- Onion rings to garnish

METHOD:
Take the garlic, whole pepper and cumin seeds in a pestle and coarsely grind it.


It should be somewhat like above picture.
- Open the lid of the pressure cooker and check the mutton. It should be melt-in-the mouth type. It is ABSOLUTELY NECESSARY for the mutton pieces to be very well cooked. If the mutton pieces are not perfectly cooked put the pressure cooker on the flames again and give 2-3 whistle more. If there is excess water, put the pressure cooker back on the gas and let it boil till only some juice is left.Now lets go to the final step...
- Heat the butter in a wide mouthed pan and add the above mixture of garlic, pepper and cumin.
- Fry it for 2 seconds.
- Add chilli slices and curry leaves. Fry it for 5 seconds till a nice yummy smell comes out.
- Now add chilli powder, cumin powder, coriander powder and garam masala powder to the oil. Stir for 10 seconds.
- Add the mutton in the oil. Fry for 2-3 mins till oil leaves the mutton.
- Switch off the flame.
- Add lemon juice (it is a must for the tangy flavour) and coriander leaves.
- Give a quick stir and serve it with onion rings and rice or roti or parathas...


